Step-by-Step Guide to Setting Up a Small Business Security System with Wyze
By Wyzeussale | Published: 2026-05-27
Category: How-to Guides
Learn how to set up a cost-effective small business security system using Wyze cameras and monitoring plans. Step-by-step guide for affordable surveillance.
Small business owners face a constant challenge: protecting their assets, inventory, and staff without breaking the bank. Traditional security systems often come with hefty installation fees, long-term contracts, and monthly costs that can strain a tight budget. Fortunately, Wyze offers a powerful, affordable alternative that puts professional-grade security within reach of any small business. This step-by-step guide walks you through setting up a comprehensive small business security system using Wyze products, from choosing the right cameras to integrating monitoring services. Whether you run a retail shop, a small office, or a warehouse, you'll find a scalable solution that grows with your needs.
Why Choose Wyze for Small Business Security?
Wyze has earned a reputation for delivering high-quality smart home devices at unbeatable prices, and this value extends seamlessly to small business environments. The same cameras that protect your home can safeguard your storefront, back office, or storage area. Key advantages include:
- Affordability: Wyze cameras start at under $40, making multi-camera setups feasible even for micro-businesses.
- No Contracts: Unlike many traditional security providers, Wyze offers flexible monthly subscriptions without long-term commitments.
- Easy DIY Installation: No professional installer required. Most cameras can be set up in minutes using the Wyze app.
- Scalability: Start with one or two cameras and expand as your business grows.
- Smart Integrations: Wyze products work with Alexa, Google Assistant, and IFTTT for advanced automation.
For businesses that need more than just simple video recording, the Small Business Monitoring Plus plan adds professional monitoring, priority support, and extended cloud storage—perfect for owners who want peace of mind without hiring a security team.
Step 1: Assess Your Security Needs
Before buying any hardware, take a walk through your business space. Identify all entry points—doors, windows, loading docks—and high-value areas like cash registers, server rooms, or inventory shelves. Consider the following questions:
- How many cameras do you need to cover critical zones?
- Do you need indoor, outdoor, or a mix of both?
- Are there areas without power outlets that require battery-powered cameras?
- Do you need floodlights for dark areas?
- Will you monitor during business hours only, or 24/7?
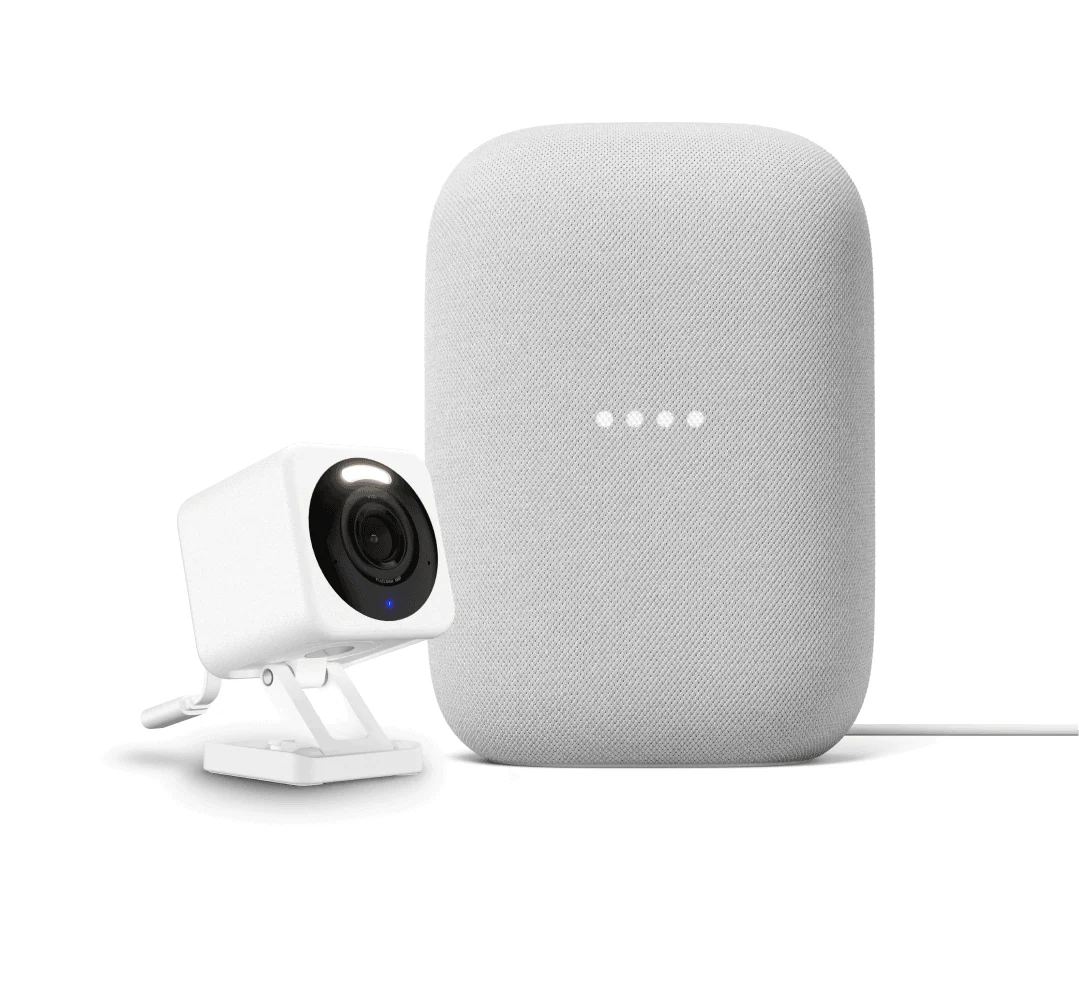
For most small businesses, a combination of indoor and outdoor cameras provides the best coverage. The Wyze Cam v3 is an excellent all-around choice—it works indoors and outdoors, records in full-color night vision, and is weather-resistant (IP65 rated). Its compact size makes it easy to mount discreetly in corners or on ceilings.
Step 2: Choose Your Cameras and Accessories
Based on your assessment, select the right cameras and accessories. Here are the top recommendations for small business setups:
Indoor and Outdoor Wired Cameras
The Wyze Cam v3 is our top pick for general surveillance. It offers 1080p HD video, a wide 130-degree field of view, motion detection, and two-way audio. For outdoor areas, consider the Wyze Cam Floodlight Pro + Plug-In Mount—this bundle combines a powerful security camera with bright LED floodlights that deter intruders. The floodlight activates automatically on motion, providing both illumination and video evidence.
Battery-Powered Cameras for Flexible Placement
If you need to place cameras in locations without nearby outlets, battery-powered models are ideal. Wyze offers several options in this category, including the Wyze Cam Floodlight Plug-In Mount for areas where you do have an outlet but want flexible placement. For remote corners or temporary setups, battery cams offer true wireless freedom.
Mounting Kits for Professional Installation
To get the best angles and stable footage, a proper mounting kit is essential. The Wyze Cam Mounting Kit includes adhesive pads, screws, and anchors that work with most Wyze cameras. It allows you to attach cameras to walls, ceilings, or even metal surfaces. For outdoor floodlight cameras, the Wyze Cam Floodlight Plug-In Mount simplifies installation and provides a clean, finished look.
Battery and Charging Accessories
For battery-powered cameras, keeping them charged is critical. The Wyze Battery Charging Dock can charge multiple Wyze camera batteries simultaneously, ensuring you always have a spare ready to swap in. This accessory is especially useful if you have several battery cameras spread across your business premises.
Step 3: Plan Camera Placement
Strategic placement is key to maximizing coverage. Follow these best practices:
- Cover all entry points: Place a camera facing each door and window. Mount them high enough to avoid tampering but low enough to capture faces.
- Monitor high-traffic areas: Position cameras over cash registers, customer service desks, and main aisles.
- Protect blind spots: Use wide-angle cameras (like the Wyze Cam v3) to cover corners and reduce gaps.
- Outdoor floodlights: Install floodlight cameras near back entrances, loading docks, and dark parking lots.
- Indoor vs. outdoor: Use weather-resistant cameras for exterior locations; standard cameras are fine inside.
For a typical 1,000-square-foot retail space, three to four cameras usually provide adequate coverage. A warehouse or larger office may require six to eight cameras. Start with the most critical areas and expand later.
Step 4: Install the Cameras
Wyze cameras are designed for quick, DIY installation. Follow these general steps:
- Download the Wyze app and create an account if you don't have one.
- Mount the camera using the included hardware or a dedicated mounting kit. For the Wyze Cam v3, you can use the adhesive metal plate for easy placement on smooth surfaces.
- Plug in the camera (for wired models) or insert charged batteries (for wireless models).
- Add the camera to the app by scanning the QR code on the device. Follow the in-app instructions to connect to your Wi-Fi network.
- Adjust the angle and test the live feed to ensure optimal coverage. Use the app's motion detection zones to ignore unnecessary movement (like passing cars or trees).
For outdoor installations, make sure the camera is securely mounted and all cables are protected from weather. If using the Wyze Cam Floodlight Pro + Plug-In Mount, follow the specific instructions for wiring the floodlight to a standard outlet or junction box.
Step 5: Configure Settings and Monitoring
Once your cameras are installed, fine-tune the settings for maximum security:
Motion Detection and Alerts
Set up motion detection zones to focus on critical areas. Adjust sensitivity to avoid false alerts from pets, shadows, or passing vehicles. Enable push notifications to receive instant alerts on your phone when motion is detected during off-hours.
Cloud and Local Recording
Wyze offers free 12-second clip recording with motion events, but for continuous recording and longer storage, consider a subscription. The Small Business Monitoring Plus plan provides 14-day event video history, person detection, and professional monitoring—a worthwhile investment for business owners who cannot monitor footage themselves 24/7. For local storage, you can insert a microSD card (up to 256GB) into the Wyze Cam v3 for continuous recording without monthly fees.
Professional Monitoring
If you opt for Small Business Monitoring Plus, the Wyze system can alert a professional monitoring center when an alarm is triggered. This service is ideal for overnight hours or if you travel frequently. The monitoring team will contact you and, if necessary, dispatch emergency services.
Step 6: Test and Optimize Your System
After setup, run a full test:
- Walk through all camera zones to confirm motion detection triggers correctly.
- Check night vision quality in low-light areas.
- Verify that two-way audio works (useful for communicating with delivery personnel or suspicious visitors).
- Review a recorded clip to ensure clarity and proper framing.
- Test the alarm and notification system by simulating an intrusion.
Make adjustments as needed—tweak camera angles, sensitivity levels, or add additional cameras to cover gaps.
Step 7: Maintain and Expand Your System
Regular maintenance keeps your system reliable:
- Clean camera lenses monthly to remove dust and spider webs.
- Check battery levels weekly if using wireless cameras. Swap batteries using the Wyze Battery Charging Dock to minimize downtime.
- Update firmware through the Wyze app to receive security patches and new features.
- Review camera placement quarterly as your business layout or inventory changes.
As your business grows, you can easily add more cameras or upgrade to higher-resolution models. Wyze's ecosystem supports up to dozens of cameras on a single account.
Conclusion: Affordable Security That Works
Setting up a small business security system with Wyze is straightforward, cost-effective, and highly customizable. By following this step-by-step guide, you can protect your business with professional-grade surveillance without the professional price tag. The combination of affordable hardware, flexible monitoring plans, and easy DIY installation makes Wyze an ideal choice for entrepreneurs and small business owners.
Ready to secure your business? Explore the Small Business Monitoring Plus plan to add professional monitoring and priority support to your Wyze system. With this plan, you get 24/7 monitoring, unlimited event video history, and peace of mind knowing your business is always protected.